Business
2 hours ago
6 Questions That You Must Ask Your Home Dealers
Selecting a house dealer is the first step in the house buying journey. Be it the budget-friendliness and energy efficiency…
Business
2 days ago
5 Key Benefits of a Full Bathroom Renovation
A full bathroom revamp is not just about putting on new fixtures, it is about making your home better than…
Entertainment
2 days ago
Todd Barrow’s New Texas Rocker
“Rockin in the City” is brand new guitar-fueled country rocker from award-winning Texas-based singer-songwriter, Todd Barrow. Todd Barrow is a…
Entertainment
3 days ago
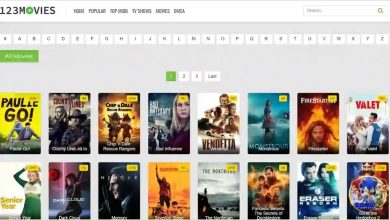
SoapToday vs. 123Movies: A Showdown of Streaming Titans
In the digital age, streaming platforms have become the go-to destination for entertainment enthusiasts worldwide. Among the myriad options available,…
Travels & Tours
3 days ago
Driving Forward: Car Rental in Richwood Texas Invest.Rakyat
Introduction: In the sprawling landscape of the Lone Star State, amidst the vibrant culture and bustling economy, lies Richwood, a…